
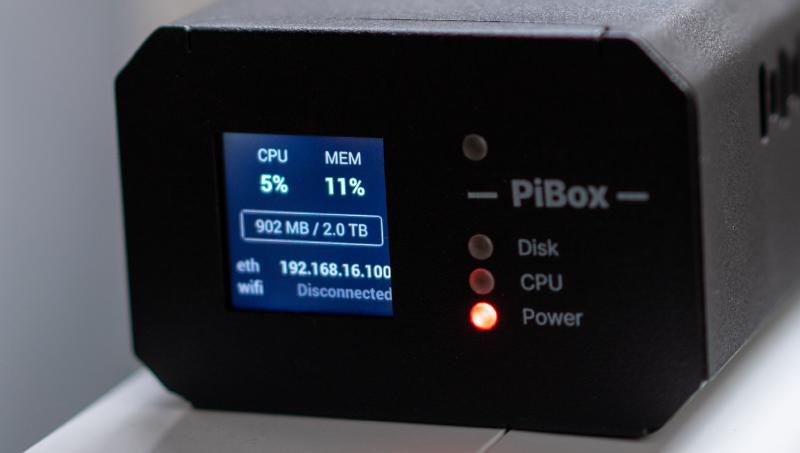
Last Friday, I finally received the PiBox I had backed through the Kickstarter campaign last year. Originally, I was drawn to the device because it promised a compact two-disk Raspberry Pi-based NAS. A year later, my focus has shifted. What really interests me now is its Kubernetes support, especially the seamless integration with Kubesail.
Setting it up was pleasantly straightforward: just plug it in, scan a QR code, and link it to your Kubesail dashboard. But there are a few caveats with the default configuration:
- Default login credentials (
pi / kubesail) remain unchanged after first boot. - Kubesail configures all attached disks in JBOD mode by default.
- There’s no official documentation on how to remove the cluster from Kubesail.
Since I wanted a more resilient setup with RAID 1, I had to go beyond the defaults. This guide walks you through resetting the PiBox and configuring a proper mirrored setup with LVM.
Disclaimer: Use the commands below at your own risk! You will lose all your data!
Step 1: Removing Your PiBox Cluster from Kubesail#
- Go to your Kubesail cluster settings and find the removal URL for your cluster.
- Run the following command (as root on the PiBox or another host with cluster access):
kubectl delete -f https://byoc.kubesail.com/${YOUR_CLUSTER_NAME}.yaml- Clean up the remaining Kubesail agent resources:
kubectl delete namespace kubesail-agent
kubectl delete clusterrolebindings.rbac.authorization.k8s.io kubesail-agent
Step 2: Resetting Storage & Removing JBOD#
To replace the JBOD setup with RAID 1, log into your PiBox and elevate to root. Then follow these cleanup steps (originally shared by user Eru on Discord):
# Stop k3s and uninstall it
sudo service k3s stop
sudo /usr/local/bin/k3s-uninstall.sh

# Unmount and wipe the SSD pool
sudo umount /var/lib/rancher
sudo wipefs -af /dev/pibox-group/k3s

# Remove LVM components
sudo lvremove /dev/pibox-group/k3s
sudo vgreduce --removemissing pibox-group
sudo vgremove pibox-group
sudo pvremove /dev/sda1 /dev/sdb1

# Wipe disks and remove partitions
sudo wipefs -a /dev/sda1 /dev/sdb1
sudo sfdisk --delete /dev/sda 1
sudo sfdisk --delete /dev/sdb 1
Step 3: Creating a RAID 1 Volume with LVM#
Assuming both /dev/sda and /dev/sdb are attached:
# Create a RAID 1 array
mdadm --create /dev/md0 --level=mirror --raid-devices=2 /dev/sda /dev/sdb

# Set up LVM
pvcreate /dev/md0
vgcreate Volume /dev/md0
lvcreate -l +100%FREE Volume -n k3s
mkfs.ext4 /dev/Volume/k3s

# Mount the new volume
echo '/dev/Volume/k3s /var/lib/rancher ext4 defaults,nofail,noatime,discard,errors=remount-ro 0 0' >> /etc/fstab
mount /var/lib/rancher
Step 4: Reinstalling Kubernetes and Kubesail#
Now that your storage is ready, reinstall K3s:
curl --connect-timeout 10 --retry 5 --retry-delay 3 -L https://get.k3s.io | \
  INSTALL_K3S_CHANNEL=stable \
  INSTALL_K3S_EXEC="server --cluster-cidr=172.31.10.0/24 --no-deploy traefik --disable=traefik --kubelet-arg container-log-max-files=3 --kubelet-arg container-log-max-size=10Mi" \
  sh
Then, reinstall the Kubesail agent:
sudo kubectl create -f https://api.kubesail.com/byocReturn to the Kubesail dashboard to re-add your PiBox cluster.
Optional: Undo RAID 1 Setup#
If you need to revert to a different configuration:
lvremove /dev/Volume/k3s
vgremove Volume
Use vgdisplay or pvdisplay to inspect and troubleshoot any remaining LVM artifacts.